使用 TextKit 製作橫向滾動 Reader
今天想教大家使用 TextKit 製作一款橫向閱讀的 Reader。
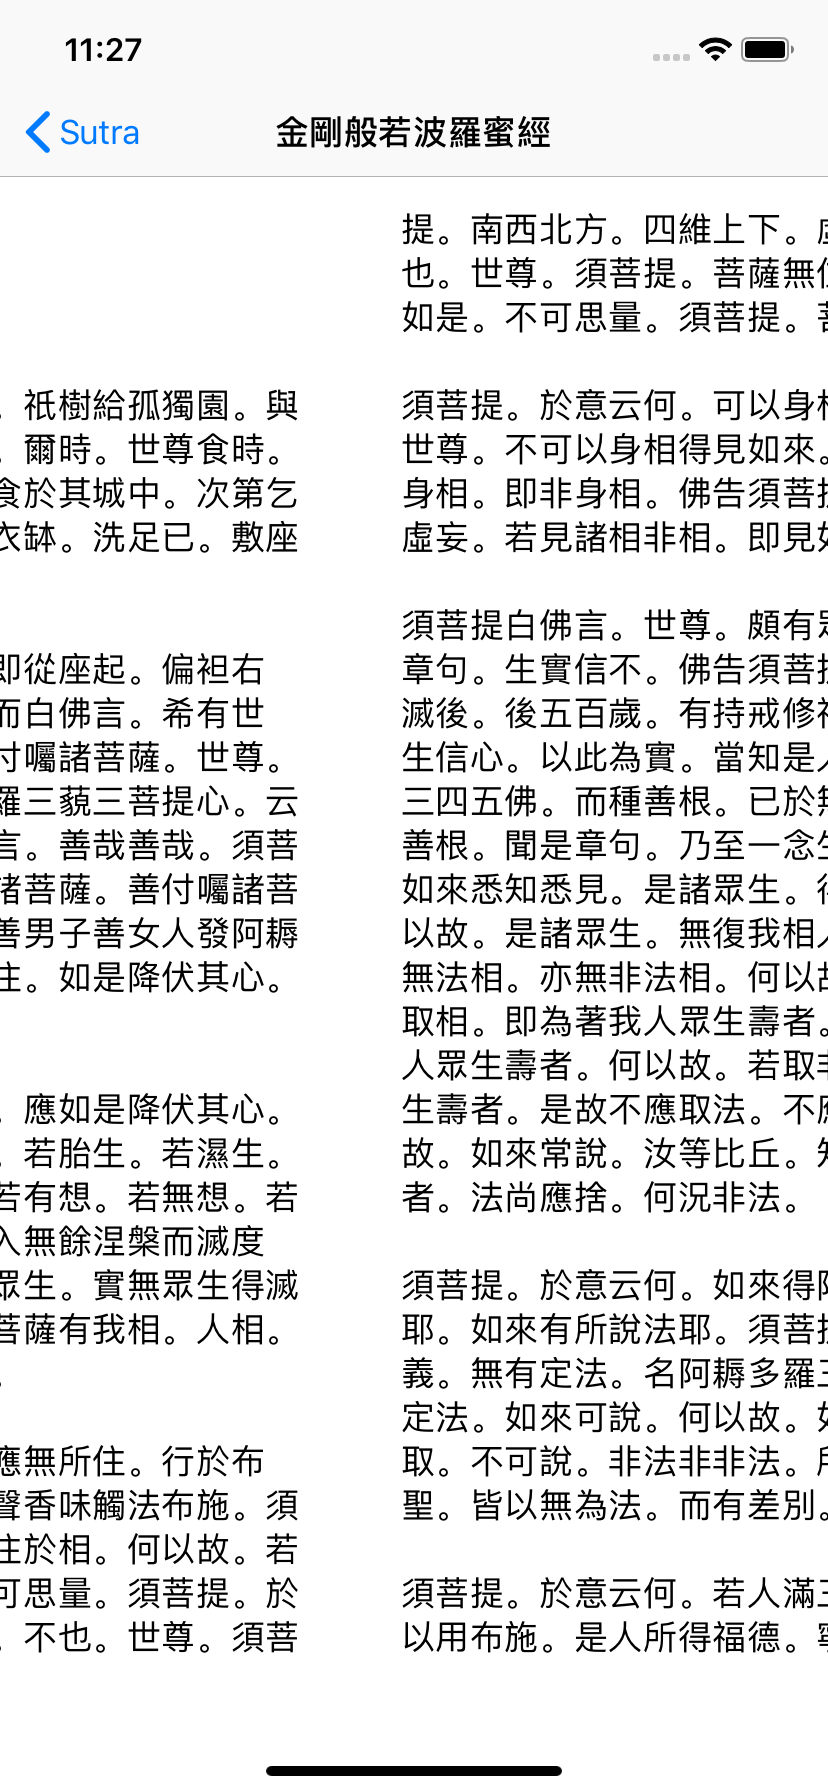
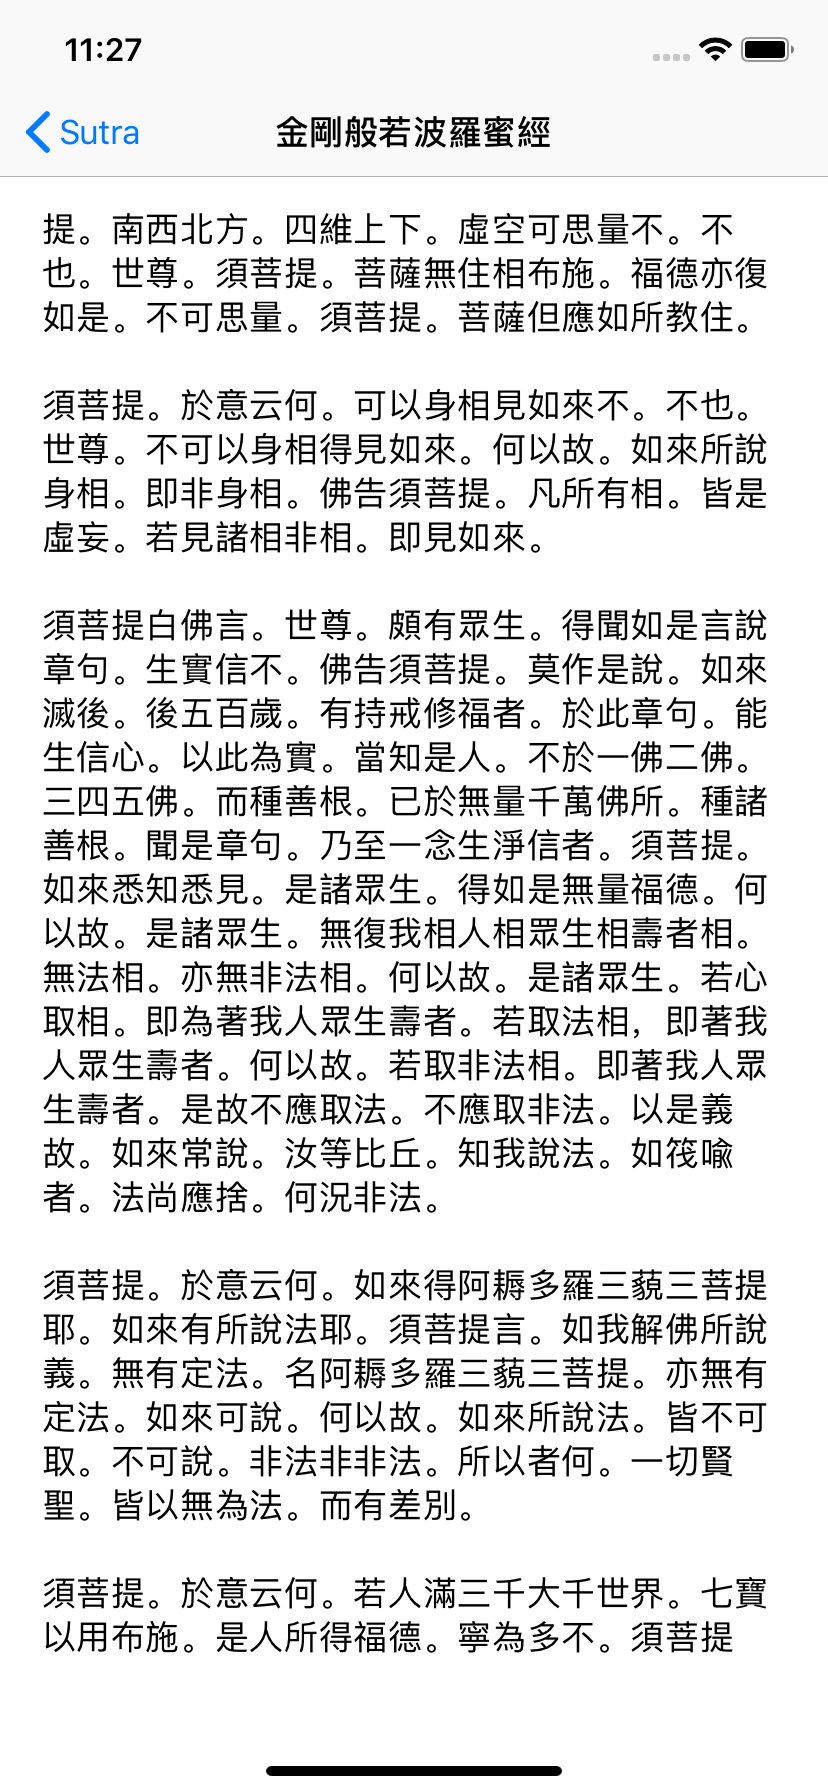
Demo 預覽

什麼是 TextKit
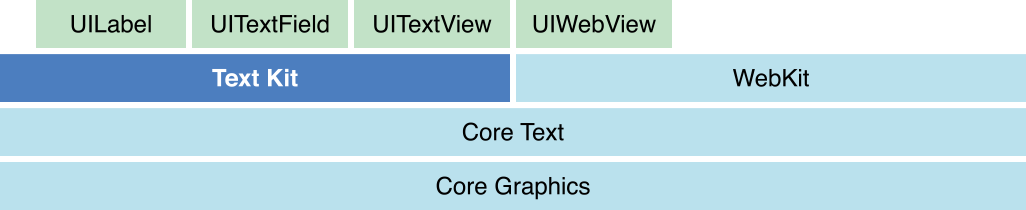
TextKit 是一個管理文字儲存,以及執行以文字為基礎內容的自定義佈局的強大工具。這其中有四大類需要認識和掌握,分別是 NSTextStorage,NSLayoutManager ,NSTextContainer 以及平台對應的 TextView。
TextKit 框架的位置:
NSTextStorage
NSTextStorage 是 NSMutableAttributedString 的子類,這意味著你可以如同使用 NSAttributedString 一樣,增添和修改其中的樣式。同時,它也承擔著管理一系列 NSLayoutManager 的責任。
你可以通過 addLayoutManager(_:),removeLayoutManager(_:) 來管理其持有的 NSLayoutManager。
最後要說明的是,NSTextStorage 可以被任何線程訪問,意味著你可以將相關的文字樣式處理放入背景或其他非主線程中。需要注意的是你必須確保每次只有一個線程正在訪問 NSTextStorage 對象。
NSLayoutManager
NSLayoutManager 對象是一個協調文字佈局以及呈現被 NSTextStorage 持有的字元(character)的物件。在其內部,是將 unicode character 映射(map)成字形(glyph),並設置給其持有的一系列 NSTextContainer 對象,最後再將他們呈現在相關的 TextView 上(在 MacOS 上為 NSTextView,在 iOS 上為 UITextView)。
你可以通過 addTextContainer(_:),insertTextContainer(_:at:),removeTextContainer(at:) 等方法來管理其持有的 NSTextStorage 對象。
NSTextContainer
NSTextContainer 會在被初始化時決定其大小(size),而這片區域(region)就是 text 如何被 layout 的地方。於是,NSLayoutManager 依據這片區域的大小,決定什麼時候需要換行(break lines),或佈局部分的 text。
基本上,NSTextContainer 所指定的區域是一個矩形,不過你也可以通過添加 exclusionPaths 來告訴 NSTextContainer 需要避開那些位置。
TextView
TextKit 中的 TextView,需要依據不同平台,來初始化不同的 view 來使用。在 MacOS 中,我們需要使用 NSTextView 來供 TextKit 呈現內容;而在 iOS 中使用 UITextView。
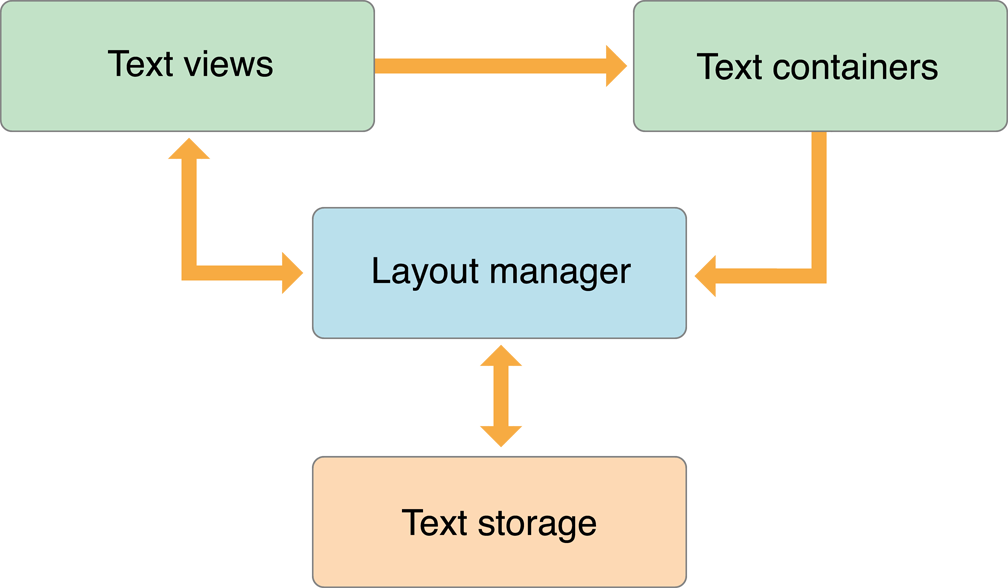
四者關係
在 Text Programming Guide 中有一張非常出名的圖用來表示四者關係:
在 code 中的呈現基本如下:
import UIKit

let textStorage = NSTextStorage(attributedString: attributedString)

let textLayout = NSLayoutManager()
textStorage.addLayoutManager(textLayout)

let textContainer = NSTextContainer(size: CGSize(width: 500, height: 500))
textLayout.addTextContainer(textContainer)

let textView = UITextView(
  frame: .init(x: 0, y: 0, width: 500, height: 500),
  textContainer: textContainer
)

PlaygroundPage.current.liveView = textView
Getting Started
在 Xcode 中新建一個專案,選擇 Single View App,命名為 Reader,Language 設定為 Swift,我們就可以開始了。
由於我們不使用 Storyboard,也請麻煩刪除掉 Main.storyboard 以及對應的 storyboard 初始化資料。另外也刪除掉 ViewController.swift,在做任何開發時,我們還是希望擁有一個好的命名習慣。
你的 Xcode Project 看起來基本上會像這樣:
右擊在 AppDelegate.swift 上,選擇 New File 並選擇 Swift File,命名為 ReaderViewController,並替換掉裡面的全部內容為以下 code:
import UIKit

final class ReaderViewController: UIViewController {

  override func viewDidLoad() {
    super.viewDidLoad()

    view.backgroundColor = .white
    navigationItem.title = "Reader"
  }

}
也替換掉 AppDelegate.swift 全部內容為下 code:
import UIKit

@UIApplicationMain
class AppDelegate: UIResponder, UIApplicationDelegate {

  var window: UIWindow?

  func application(
    _ application: UIApplication,
    didFinishLaunchingWithOptions launchOptions: [UIApplication.LaunchOptionsKey: Any]?)
    -> Bool
  {
    let readerViewControlelr = ReaderViewController()
    let navigationController = UINavigationController(rootViewController: readerViewControlelr)
    window = UIWindow(frame: UIScreen.main.bounds)
    window?.rootViewController = navigationController
    window?.makeKeyAndVisible()
    return true
  }

}
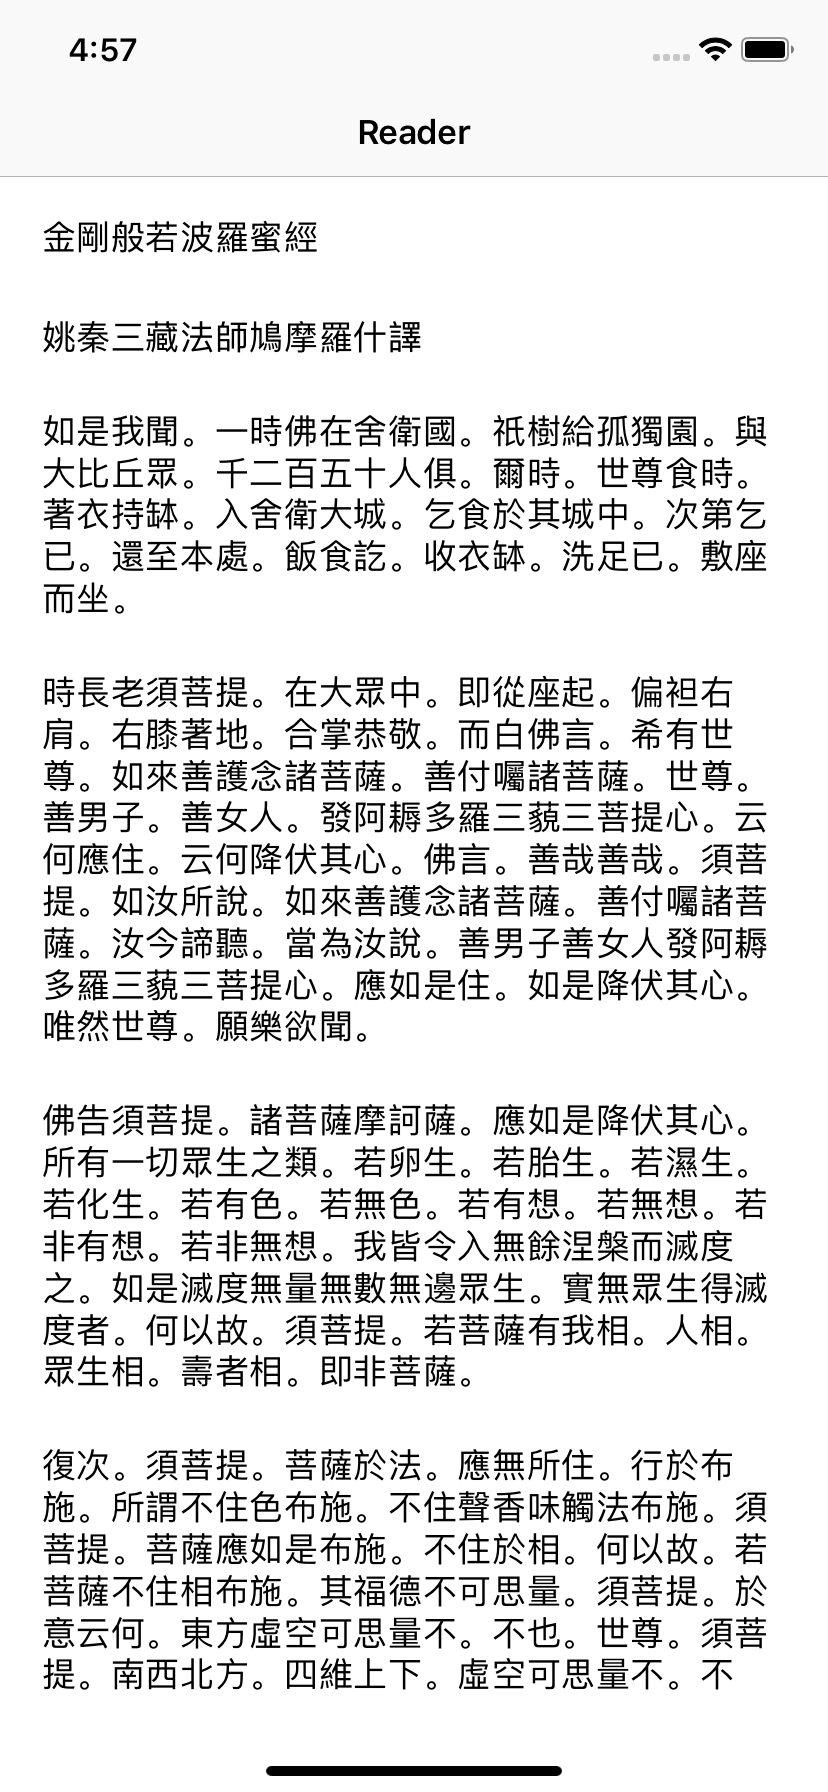
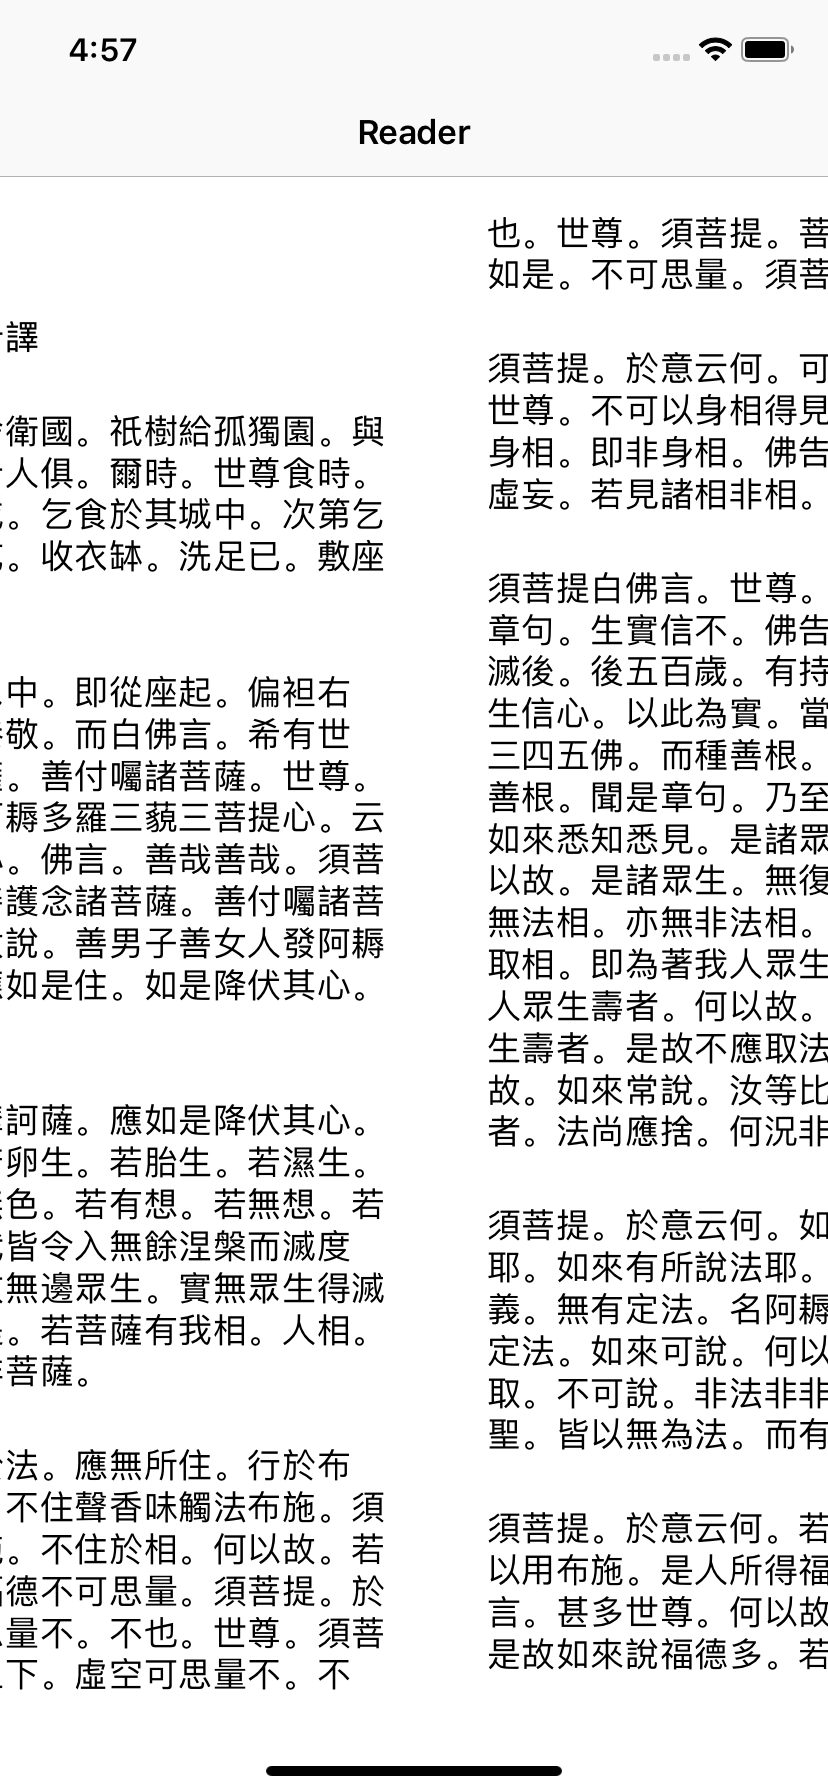
Import Large Text
這裡我準備了一些長文字內容,拖進專案後,在 ReaderViewController 增加如下方法:
private func fullContent() -> String {
    let url = Bundle.main.url(forResource: "Diamond Sutra", withExtension: "txt")!
    return try! String(contentsOf: url, encoding: .utf8)
}
你可以在 viewDidLoad() 中測試 print(fullContent().count) 是否會在 console 中印出對應數字,來檢測該函數是否正常運作。
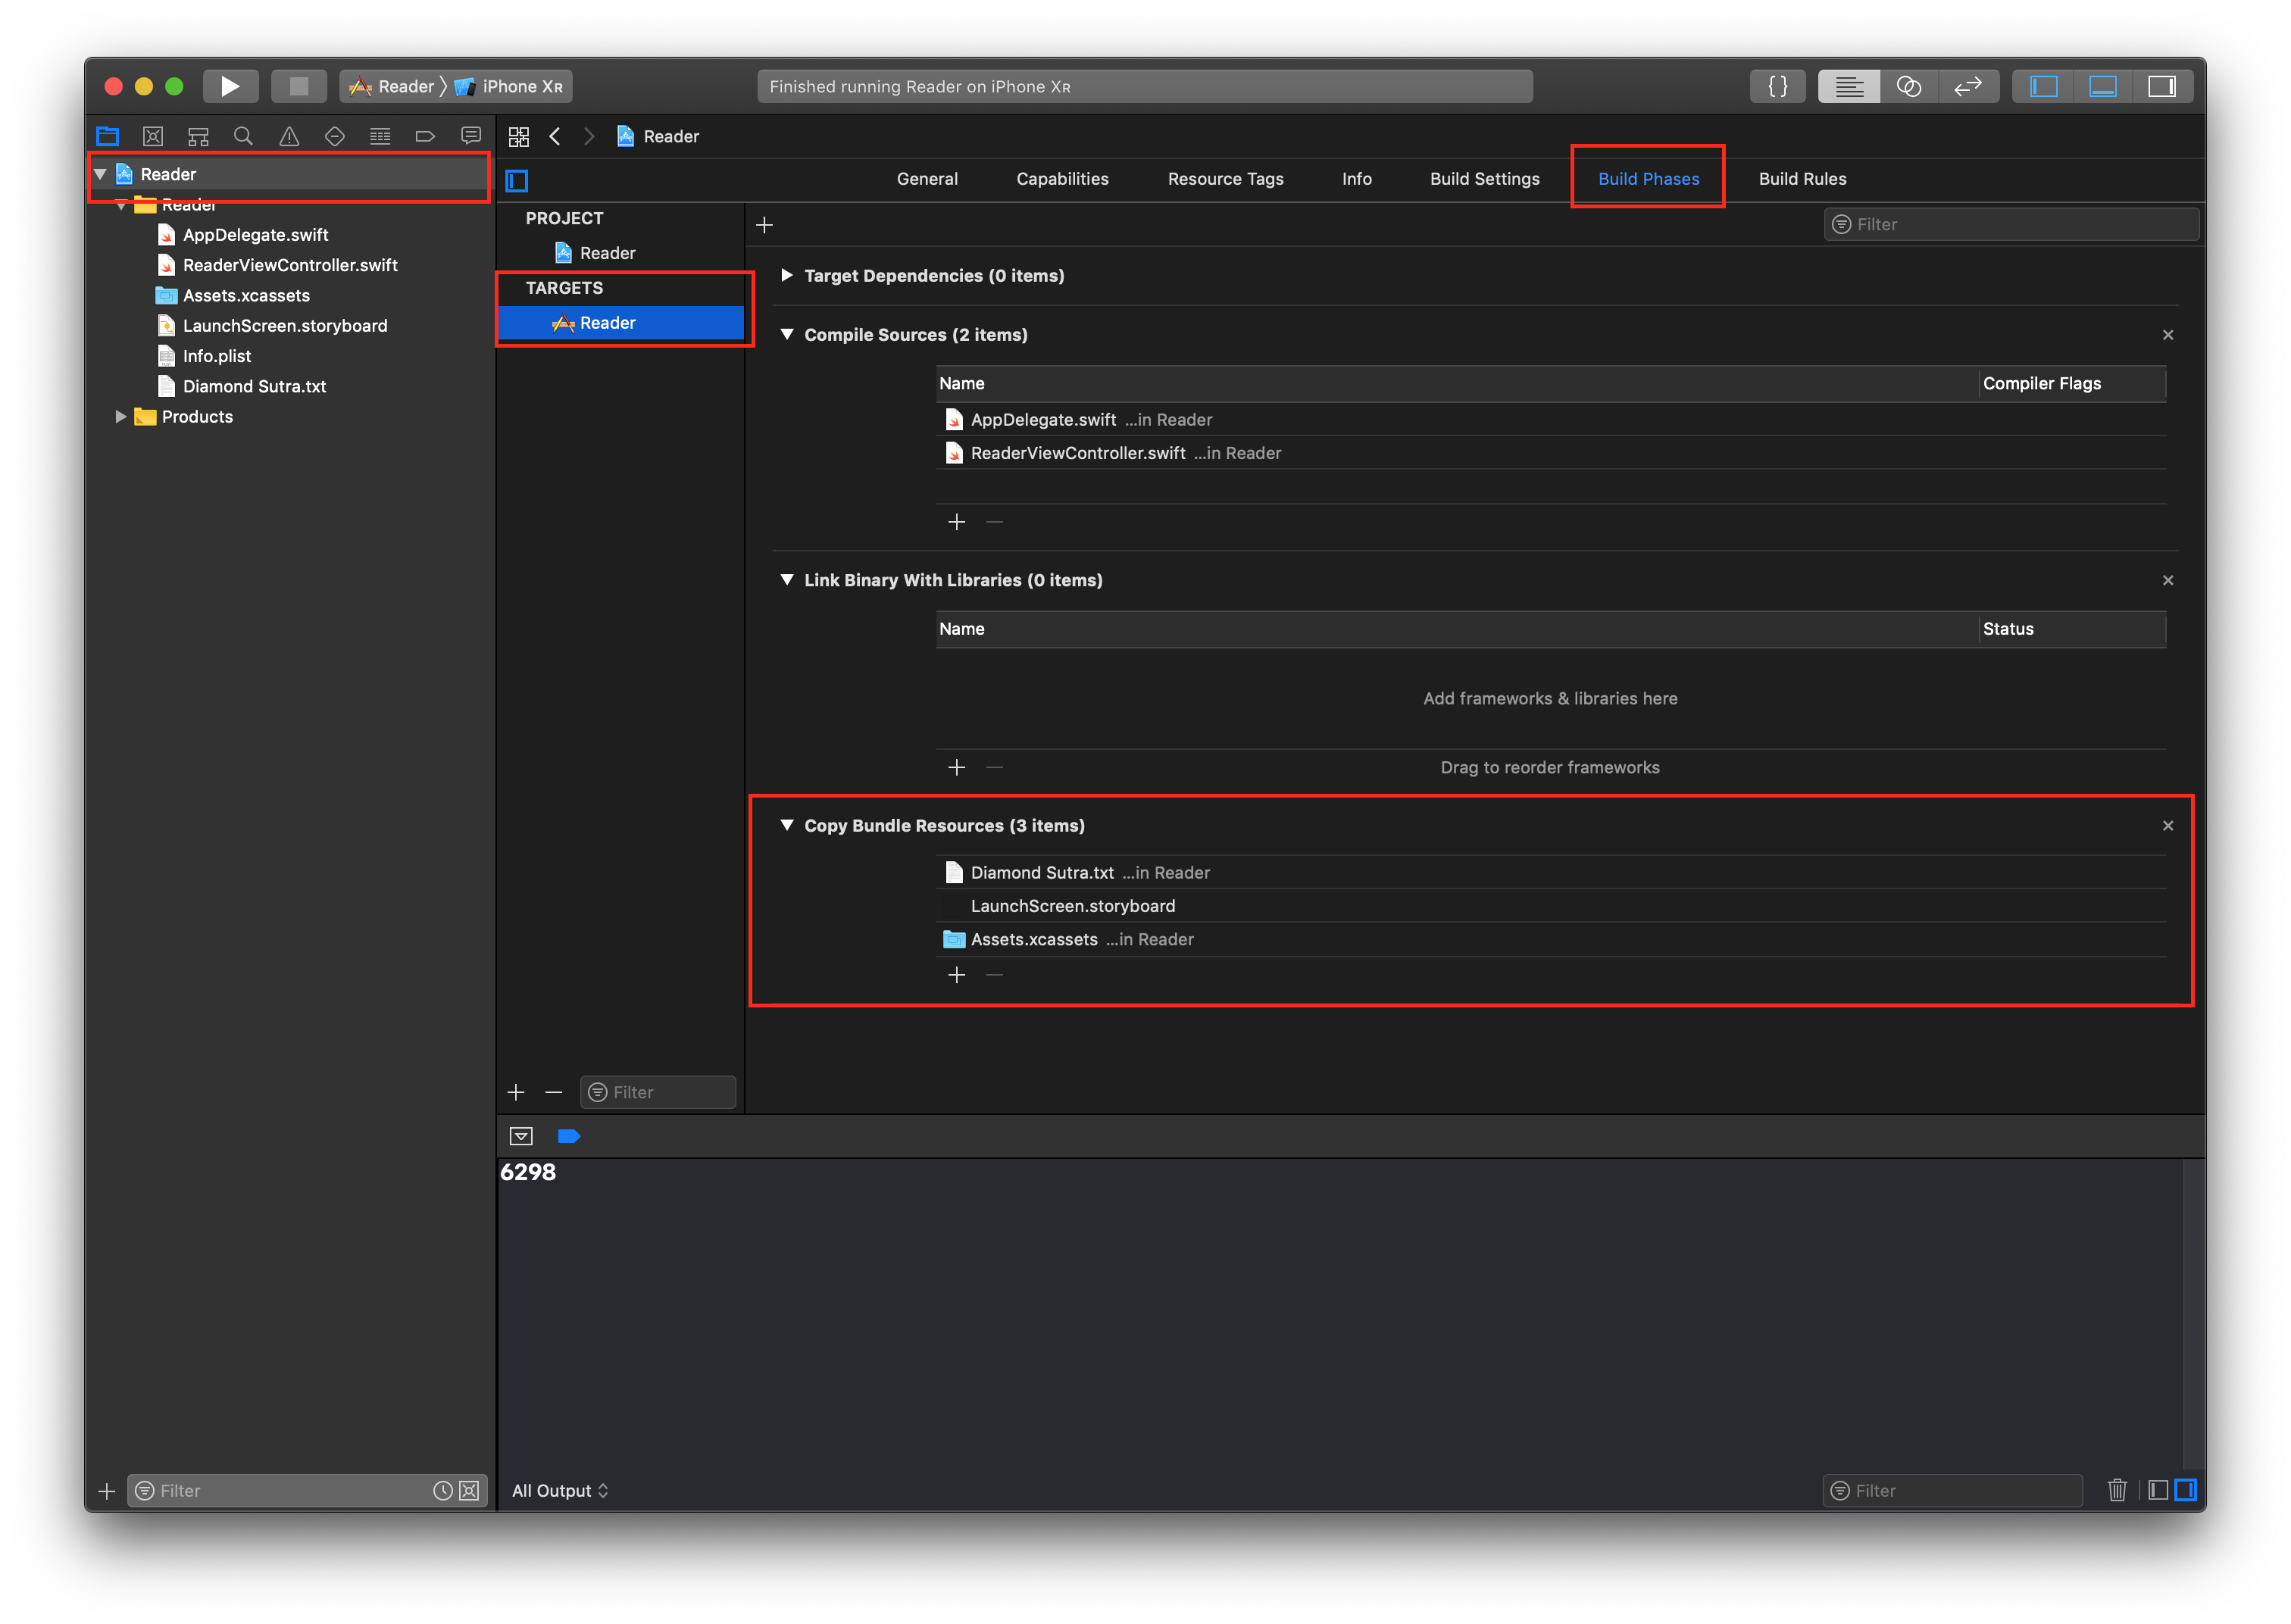
PS: 如果你遇到 App 運行崩潰的情況,請前往 Project Navigator - Targets - Reader - Build Phases - Copy BundleResources 中檢查拖拽進來的檔案是否也呈現在其中,如果沒有就按下方的加號添加進去。
Setup Reader
在 ReaderViewController 中增加 let contentView = UIScrollView() ,這個 view 將被我們用來放置文字滾動的部分,同時追加 setupContentView() 的方法,用來設定我們的 contentView:
private func setupContentView() {
    contentView.backgroundColor = .orange
    contentView.translatesAutoresizingMaskIntoConstraints = false
    view.addSubview(contentView)

    NSLayoutConstraint.activate([
      contentView.topAnchor.constraint(equalTo: view.safeAreaLayoutGuide.topAnchor),
      contentView.leadingAnchor.constraint(equalTo: view.safeAreaLayoutGuide.leadingAnchor),
      contentView.bottomAnchor.constraint(equalTo: view.safeAreaLayoutGuide.bottomAnchor),
      contentView.trailingAnchor.constraint(equalTo: view.safeAreaLayoutGuide.trailingAnchor)
    ])
}
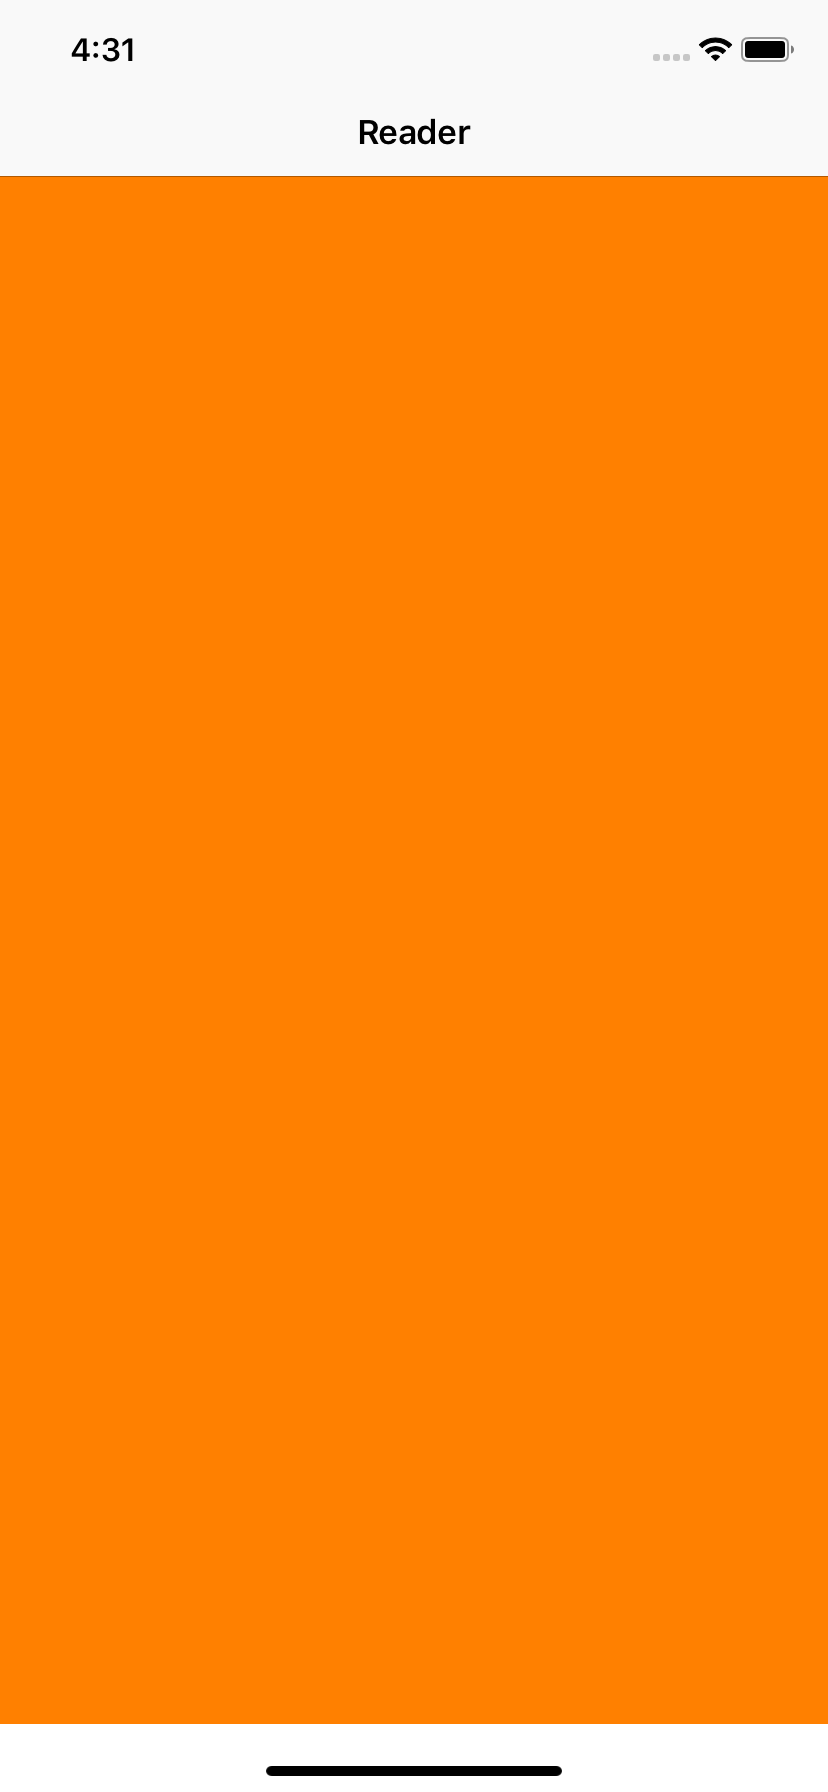
運行完你應該會看到一個 orange 顏色的畫面:
記得將 setupContentView 在 viewDidLoad() 時執行。
隨後,追加 setupReader() 方法,開始建構我們的閱讀器吧:
private func setupReader() {
    // 1
    let attributedString = NSAttributedString(
      string: fullContent(), attributes: [:]
    )

    // 2
    let textStorage = NSTextStorage(attributedString: attributedString)

    // 3
    let textLayout = NSLayoutManager()
    textStorage.addLayoutManager(textLayout)

    // 4
    let textContainer = NSTextContainer(size: contentView.bounds.size)
    textLayout.addTextContainer(textContainer)

    // code here
}
- 第一步是建構一個 NSAttributedString,便於 NSTextStorage 初始化。因為我們已經寫好了 fullContent() 函數,可以直接調用並取得到我們想要填入的文字。attributes 是文字樣式的部分,這裡我們先不處理
- 建構我們的 NSTextStorage
- 建構我們的 NSLayoutManager,並把它加到 textStorage 中
然後開始處理我們的 TextView 部分,在 code here 中繼續寫入:
let viewSize = contentView.bounds.size
let textInsets = UIEdgeInsets(top: 16, left: 16, bottom: 16, right: 16)

// 1
var index: Int = 0
var glyphRange: Int = 0
var numberOfGlyphs: Int = 0

repeat {
  // 2
  let textContainer = NSTextContainer(size: viewSize)
  textLayout.addTextContainer(textContainer)

  // 3
  let textViewFrame = CGRect(
    x: CGFloat(index) * viewSize.width,
    y: 0,
    width: viewSize.width,
    height: viewSize.height
  )

  // 4
  let textView = UITextView(
    frame: textViewFrame,
    textContainer: textContainer
  )

  // 5
  textView.isEditable = false
  textView.isSelectable = false
  textView.textContainerInset = textInsets
  textView.showsVerticalScrollIndicator = false
  textView.showsHorizontalScrollIndicator = false
  textView.isScrollEnabled = false
  textView.bounces = false
  textView.bouncesZoom = false

  // 6
  textViews.append(textView)
  contentView.addSubview(textView)

  // 7
  index += 1
  glyphRange = NSMaxRange(textLayout.glyphRange(for: textContainer))
  numberOfGlyphs = textLayout.numberOfGlyphs
} while glyphRange < numberOfGlyphs - 1 // 8
這塊內容不少,但我們依舊可以慢慢來解釋:
- 在我們的 Demo 預覽中,閱讀器是可以橫向不斷滾動下去的,而每一個我們所見的 text 區域,其實就是由每一個 UITextView 所組成並呈現的,因此我們需要 repeat - while loop 來協助我們處理這件事情,而 index / glyphRange / numberOfGlyghs 會幫助我們處理 loop 的條件
- 建構我們的 NSTextContainer,並把它加到 textLayout 中
- 計算每一個 TextView 的座標
- 構造 UITextView,在這裡傳入我們的 textContainer
- 對 textView 做一點樣式上的調整,使其在滾動過程看起來更舒服
- 把每一個 textView 加入到我們的 textViews 中,就可以依據 count 計算出一共有多少頁了;並再把它們加入成 content view 的 subview
- 通過 glyphRange 可以知道目前字形 glyph 到哪一個點,再與 numberOfGlyphs 比較,就可以判斷中斷條件了
- 計算 repeat - while 何時中斷
將 setupReader() 放在 viewDidLoad 中運行:
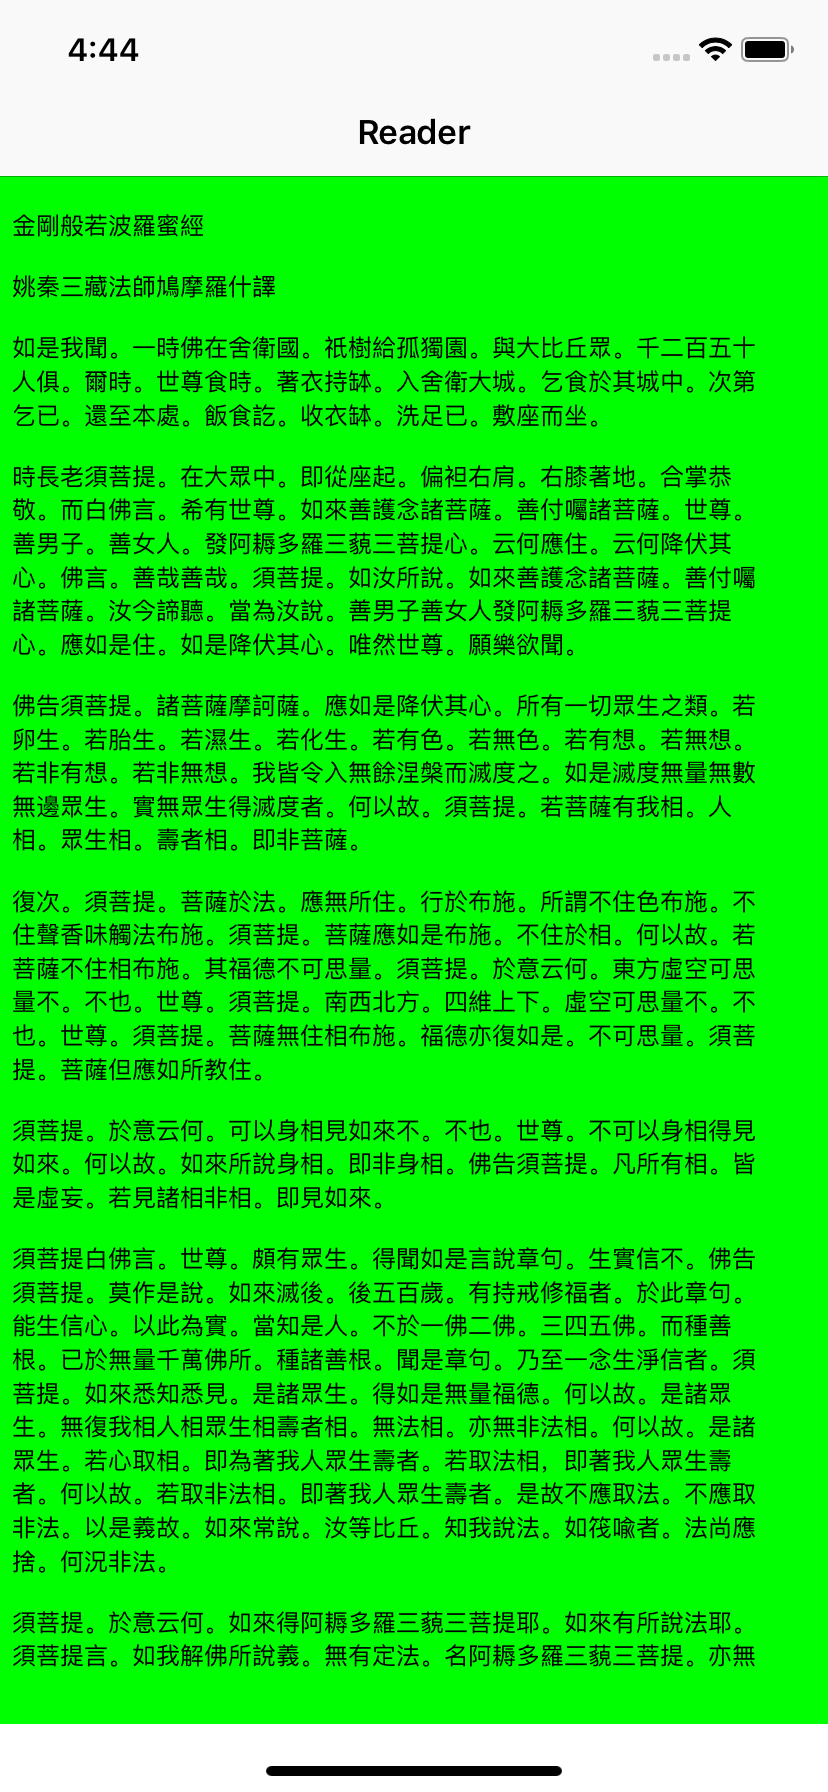
欸?為什麼還是什麼文字都沒有?這裡我們還少做了兩件事情:
- 計算完並放把每一個 textView 放入 content view 後,我們需要告訴 content view 你的 content size 是多少
- 我們的 view size 是通過 content view 得出的,那麼我們把這段代碼運行在 view did load 之中,size 是多少呢?當然是 (0, 0) 了
所以,我們先需要在 repeat - while loop 之後,加上這段代碼:
repeat {
    ...
} while glyphRange < numberOfGlyphs - 1 // 8

contentView.contentSize = CGSize(
  width: viewSize.width * CGFloat(textViews.count),
  height: viewSize.height
)
然後把我們的 setupReader() 從 viewDidLoad() 中拿出,重新在 ReaderViewController 中加入這段代碼:
override func viewDidLayoutSubviews() {
  super.viewDidLayoutSubviews()
  setupReader()
}
viewDidLayoutSubviews() 是告訴我們 view 已經把我們底下的 subviews 們都佈局好了,這樣我們就可以取得到正確的 view size 了。
Update Style
現在我們還有幾個問題需要彌補:
- 背景顏色是綠色太醜了
- content view 的顏色也不好看
- 左右滾動的時候沒有 page 的阻尼效果
- 左右滾動底下還是有滾動條,不好看
- 字體太小了
- 問題太過緊湊了
先把我們的 textView 和 contentView 的 backgroundColor 改成 white;
textView.backgroundColor = .white
contentView.backgroundColor = .white
再到 setupContentView 中,增加一些東西:
contentView.showsVerticalScrollIndicator = false
contentView.showsHorizontalScrollIndicator = false
contentView.isPagingEnabled = true
前面兩條是告訴我們的 content view 隱藏掉水平和垂直的滾動條;最後一條是告訴 content view 使用 paging 的方式來滾動。
還記得我們在初始化 attributedString 時沒有添加文字樣式嗎?
let attributedString = NSAttributedString(
    string: fullContent(), attributes: [:]
)
將這段 code 修改如下:
let paragraphStyle = NSMutableParagraphStyle()
paragraphStyle.lineHeightMultiple = 1.2

let attributedString = NSAttributedString(
  string: fullContent(),
  attributes: [
    .font: UIFont.preferredFont(forTextStyle: .body),
    .paragraphStyle: paragraphStyle
  ]
)
現在再運行一下,是不是舒服多啦?
以上就是這篇教程的全部內容了,全部代碼我會放在 Arcovv/TextKit-Tutorial · GitHub,歡迎提問與指點!